

Have you ever tried your hand at making hash browns from scratch, but found the results to be less than ideal? Perhaps the outside of the hash browns look okay, but on the inside it’s nothing but a starchy undercooked mess.
I’ve seen this more than I’d like to admit. Fortunately, there are steps you can take to avoid the pitfalls that come with making homemade hash browns.
I’m sure most of us can agree that hash browns are an integral part of any hearty breakfast. They’re what you would call a staple breakfast food at many diners here in America as well as in the UK. These diners often fry the hash browns on large common cooktops or grills. But what’s their secret to serving up crispy golden hash browns every time without fail?
First let me clarify that when I use the term hash browns I’m referring specifically to the shredded variety. I don’t want the term to get confused with another popular dish which is similar in the fact that it’s also served as a breakfast side, and consists of potatoes. I’m referring to country style potatoes or home fries, where the potato is often cubed or diced and then parboiled prior to be being fried in oil or butter.
So with that being said, let’s start at the beginning. The type of potato you use will have an affect on the end result of your hash browns. Potatoes typically fall into one of two categories: waxy and starchy. Neither is better than the other, it’s just that different potatoes work better for different things.
Waxy potatoes include all the different colored potatoes such as red skinned potatoes, purple, blue and fingerling potatoes. They are high in sugar and moisture but low in starch. Waxy potatoes are great for boiling since they retain their shape well. These type of potatoes lend themselves well to dishes such as potato salad or scalloped potatoes where a firmer texture is desired. Most of these potatoes are smaller and tend to be rather round in shape. However, some varieties do get bigger.
Starchy Potatoes on the other hand are great for baking, deep-frying, and mashing. Starchy potatoes include Idaho and Russets. The starch granules present in these potatoes swell when boiled or baked to produce super fluffy mashed potatoes and baked potatoes respectively. I would include Yukon gold potatoes but they have more of a medium starch amount. They tend to be a good all-purpose potato and can probably be used in recipes where other waxy potatoes would be called for.

So if you want to make sure your hash browns stick together for the long haul, try using some waxy potatoes. But if you’re looking for crispier hash browns, you’ll want to go with something starchy like a Russet. But then why do we soak and remove as much starch as we can? That doesn’t seem to make a lot of sense does it?
Here’s what’s going on. When a potato gets cut, specifically like the small pieces you get after its been shredded on a grater, a lot of the starch from that potato gets released and begins to oxidize causing the shredded potatoes to turn gray. Soaking them in water prevents this oxidation. Derek from Dad With a Pan recommends simply grating them directly into a bowl of water so they won’t be exposed to air at all.
Another side effect of cutting up potatoes is that the starch begins turning into sugar and mixing together with the moisture in the potatoes, causing them to become sticky or gummy. Stirring them in water helps remove this starch so the hash browns will become crispier when cooked.
I personally prefer Russet potatoes for my hash browns and that will be what I use for the recipes at the bottom of this page, but it’s really your choice what type of potato you use. Just exercise caution if you decide to use purple potatoes. I’m not sure how the majority of people feel about eating purple hash browns…
There are basically two methods you can follow. I recommend the baking approach, but I’ll explain both of them below. In both cases, I prefer to use the largest opening on my box grater when shredding the potatoes, but that’s personal preference. The larger pieces of potato contain more “meat” but still crisp up on the outside nicely.
Method 1:
This method takes a little more time, but that’s only due to the baking and cooling process, so you’ll just need to plan ahead a little. The good news is that you can bake the potatoes well in advance (a day or more ahead if you want) and then just pull them out of the refrigerator when you need them.
Another great things about this method is that the potatoes will shred much easier at this point since they’ve already been briefly cooked. And this won’t be the first time I mention it, but it also means there’s a far less chance of mangling your fingers on the shredder. No worries about the starch either. Baking the potatoes a bit first will make this a nonissue.
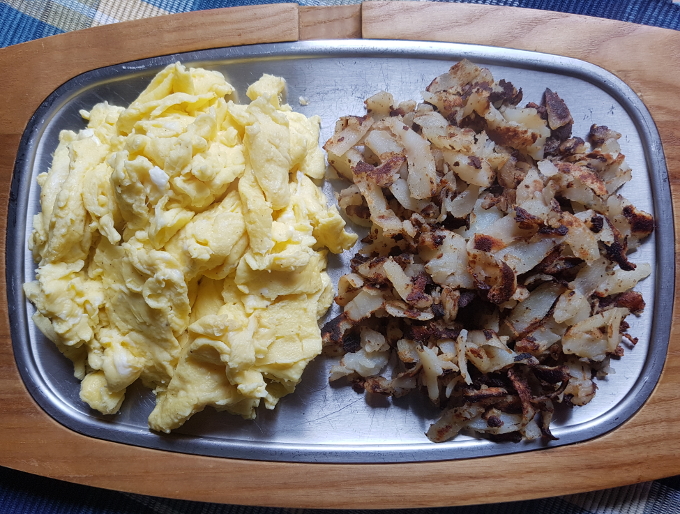
Hash Browns – baking method
By: Semiserious Chefs
Serves: ~ 4
Ingredients:
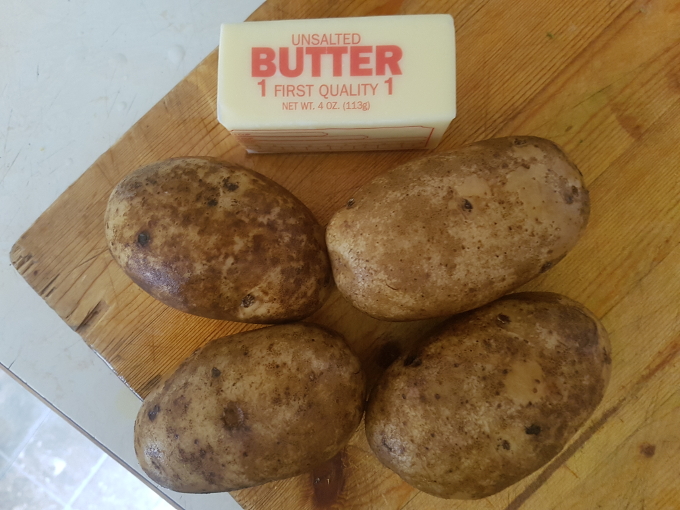
- 4 medium size Russet potatoes
- Salt and pepper (to taste)
- vegetable oil or butter for frying
Directions:
- Preheat oven to 400°F. Rinse potatoes if you plan on leaving the skin on when cooking your hash browns.
- Take a fork and poke a few holes in the skin of each potato, and then put them in the oven for 40 minutes.
- Remove potatoes from oven and let cool. They will continue to slowly cook while cooling. I recommend putting them in the refrigerator at this point. Let them sit for at least an hour or even overnight.
- When you’re ready to make your hash browns, remove the potatoes from the refrigerator, and remove the skins (if you want) with a peeler.
- Preheat medium size non-stick pan over medium-high heat and add about 2 tablespoons of vegetable oil, butter, or your favorite cooking oil.
- Shred the potatoes on the largest hole size of a box grater. It’s personal preference at this point though, you can use the medium size if you wish.
- Drop the grated potatoes into the skillet, keeping it as evenly layered as possible. Try to keep it no more than 1-inch thick. A half-inch works better. You might need to do multiple batches if cooking a lot of hash browns.
- Sprinkle with salt and pepper and then turn heat to medium. Avoid stirring the hash browns. The goal is for them to crisp up and turn golden brown.
- After 5 – 6 minutes, check hash browns (check them by lifting the edge with a spatula) and if they are golden brown like we want, you can go ahead and flip the whole thing over using either a plate, a spatula, or your pan flipping skills.
- Increase the heat to medium-high again, and sprinkle this side with salt and pepper. Continue cooking for 1 -2 minutes and then reduce heat to medium again. Cook this side for another 4 – 5 minutes or until it too turns a dark crispy golden brown. Don’t burn it though.
- Transfer hash browns onto a plate and let cool for a minute before serving.
Method 2:
I’m going to begin by saying, I don’t feel this method achieves the best results. I’m including this here because it’s a very popular way of making homemade hash browns and I think by trying it out you will not only learn more about cooking in general, but you’ll be able to formulate your own opinion about how best to cook fresh hash browns.
I’m also not very fond of shredding raw potatoes with a grater. More often than not, a half grated piece of potato slips out of my hand and lands on the floor, or I misjudge how much potato I have left and end up nicking my knuckle on the grater. It’s unpleasant at best.
Below I will outline some important rules to follow when cooking hash browns like this.
Once you manage to shred all your potatoes, make sure you put them in a bowl and rinse them thoroughly. Very thoroughly. Don’t be afraid to slosh them around in the bowl either. You will probably end up pouring out the water at some point when it becomes too murky, and filling it with water again to let the shredded potatoes soak even more.
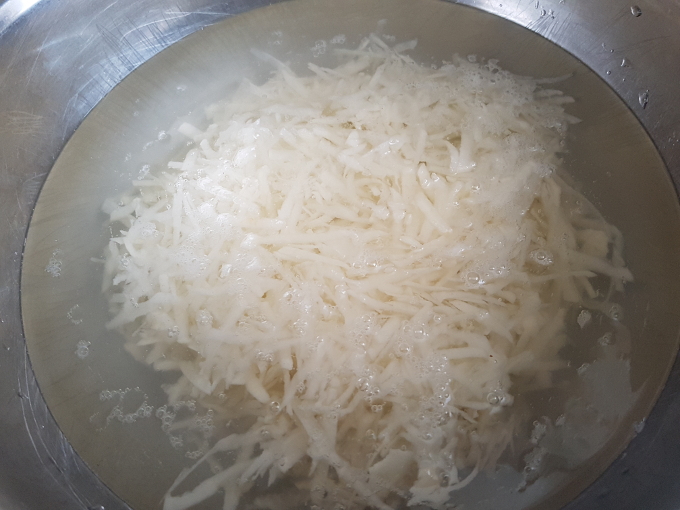
Here you can see the starch from the potatoes turning the water slightly murky. I haven’t given the shredded potatoes a good stirring yet though.
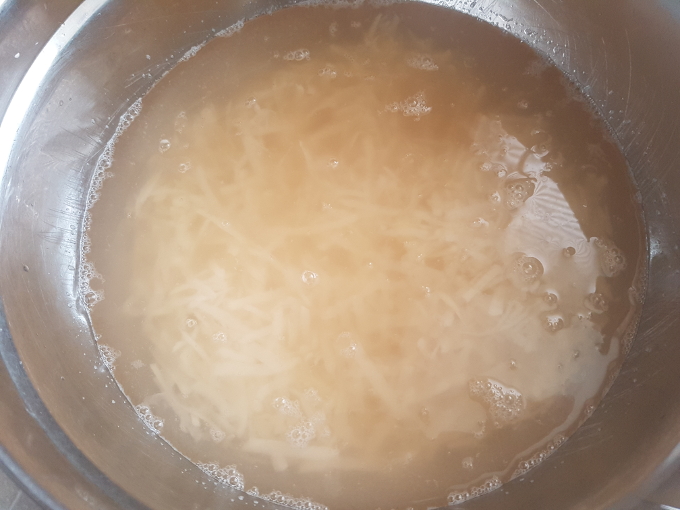
This is what the water looks like after I gave it a nice stir with my hands. It’s a good idea to grab a few handfuls and squeeze them to get even more starch out.
Remember, the goal is to remove as much starch from the potatoes as you can. Any starch left on the surface of the shredded potatoes are going to make them want to stick together when cooking, and that’s why you often times get a nice crispy layer on both sides, but the inside is awkwardly raw and sticky.
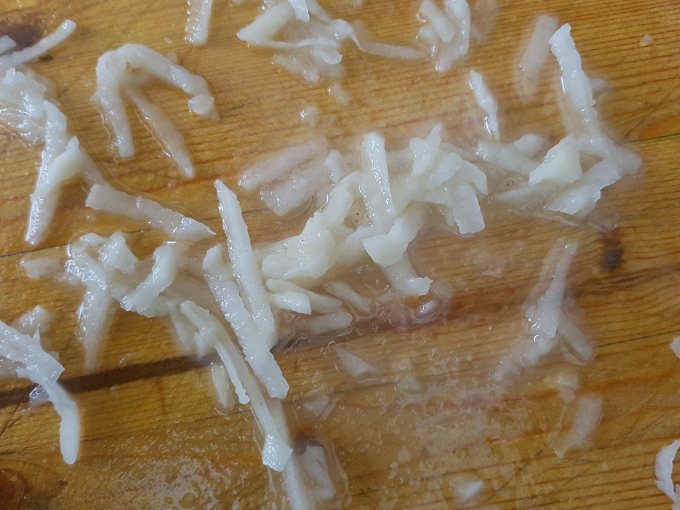
This is a close up of the starch that’s released when the potatoes have been shredded.
It’s also very important to let the hash browns dry as much as possible before putting them in the pan to cook. The more moisture they have, the more they are going to steam instead of fry. Steaming causes them to become mushy. It’s also very important not to add too many at one time either. You want to keep your layer of hash browns thin so they can get a good crisp. Always work in batches if you intend to cook a lot of hash browns.
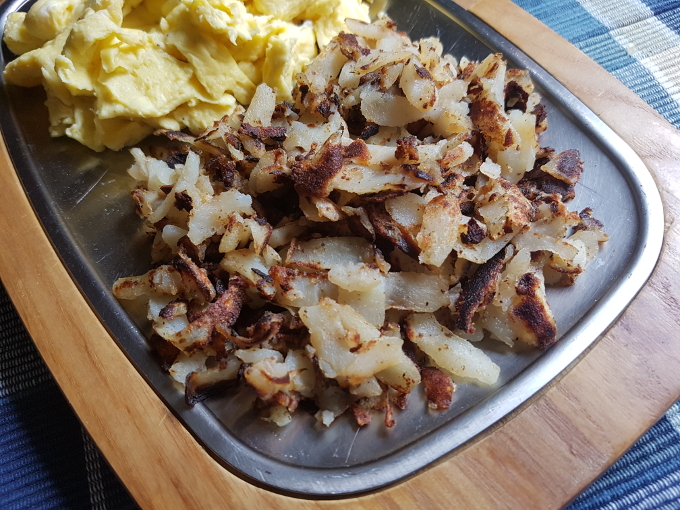
Below are a couple pictures of what can happen if you don’t thoroughly soak and then completely dry your hash browns before cooking them.
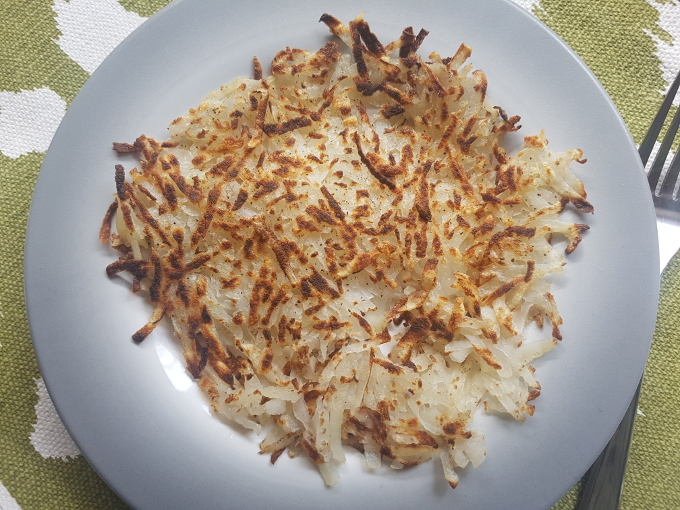
At first glance these hash browns look pretty tasty. The crisping is nice and they’re not overdone.
While I did soak the hash browns above for at least an hour, as well as stirring them and squeezing them to remove excess starch before finally letting them dry on a towel, the results still fell well short of the first method.
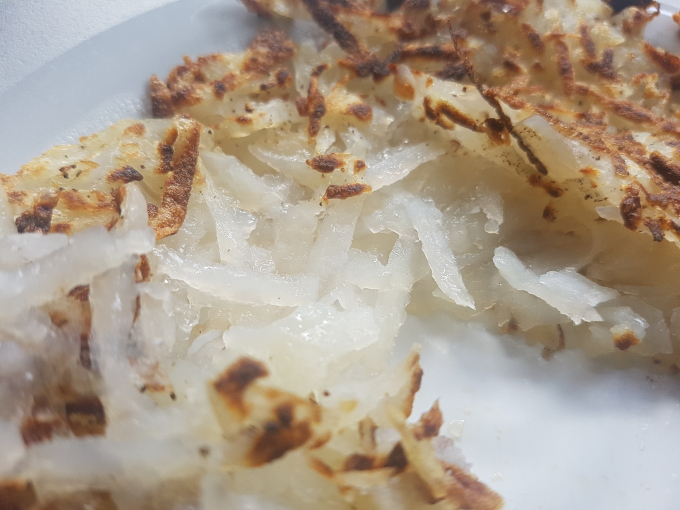
The outside of the hash browns are nice and crispy, but the inside is far from ideal. They are undercooked, sticky, and overall just not very appealing to look at or eat.
For these hash browns I opted to use the medium size on the box grater because that seems to be a typical size most people use. I want to draw attention to the fact that the middle of the hash browns just look terrible. I took a close up picture so you could see just how starchy and undercooked the middle of the hash browns are. One way to solve this problem is by stirring the hash browns occasionally while they cook. They might not look as good but at least you’ll get fairly uniformly cooked hash browns.
Hash browns – soaking method
By: Semiserious Chefs
Serves: ~ 4
Ingredients:
- Water, lots and lots of water
- 4 medium size Russet potatoes
- Salt and pepper (to taste)
- Vegetable oil or butter for frying
Directions:
- Peel the potatoes (or if leaving the skin on, rinse the skin of each potato to wash them off) and grate with a box grater. It’s up to you how big you want to shred the potatoes but I would stay away from the smallest size.
- Immediately drop the shredded potatoes into cold water and let soak for at least an hour. Longer is preferable. At some point you are probably going to want to use your hands to stir the shredded potatoes around. Grabbing handfulls of the potatoes and giving them a good squeeze also helps remove excess starch. You may need to dump out the water and add fresh water if you feel the water is getting to starchy.
- After they have adequately soaked, remove them from the water and place them on a towel or something similar so they can dry. You can wrap and pat them down to help the drying process.
- When dry, add roughly 2 tablespoons of vegetable oil, butter, or your favorite cooking oil to a large skillet and heat over medium-high heat.
- When the oil is hot, carefully add the hash browns making sure they stay in a thin layer. Try to keep it under half an inch.
- Sprinkle with salt and pepper and turn heat to medium-low. Cook for 4 – 5 minutes or until golden brown but not burnt. You can check how done they are by lifting up an edge with a spatula.
- When golden brown underneath, flip the hash browns using either a plate, a spatula, or by pan flipping them. Try to keep them together if possible.
- Cook for an additional 4 – 5 minutes or until golden brown underneath.
- Transfer hash browns onto a plate and let cool for a minute before serving.
Let us know in the comment section below, which way you think is the best way to cook homemade hash browns. And if you have any tips that you feel will make either of these recipes better, we want to hear about those as well!
Post a comment