

Homemade Paneer Cheese – See Directions under ‘Quick Soft Cheese’ below. (Step 4.2)
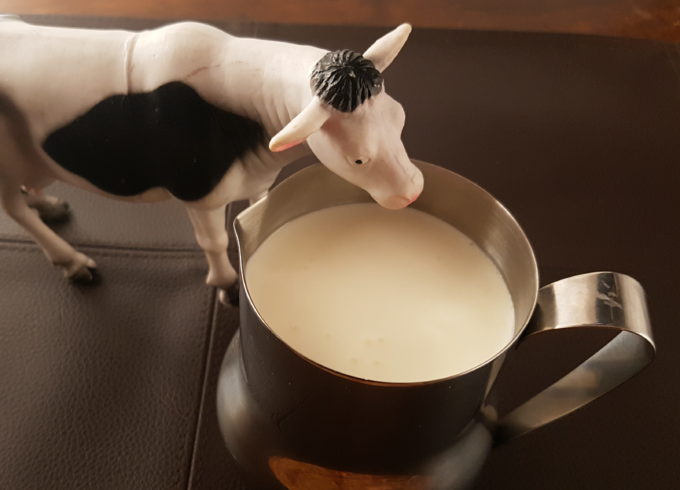
Not too long ago, when the snow hadn’t flown yet but the doldrums of winter were definitely here, I asked Andrew for some ideas for the next preschool theme in our daycare. Black Smithing. That’s what he decided for a group of 2, 3, and 4 year olds. “Maybe in the summer?” was the politest rejection I could muster. After a few [slightly more cynical] suggestions he finally threw out ‘cheese,’ assuming that it too, would be turned down as either too broad, too narrow, or too complicated. “No! It’s perfect! We can make all kinds of things with milk and we’ll talk about were the milk comes from and how it makes it to our table.” Thus our ‘Legend …wait for it… DAIRY’ theme was in place.
What makes this these recipes so great is that I’ve made them with even the littlest bit of help of all of the children in our daycare, a group ranging in age from 1 to 5+. They are perfect Cooking With Kids activities. The best part is that they bring fresh products into your home, right to your table, and into your diet. It’s really fun to show up at family gathering or holiday event with a homemade offering, especially from a child, “Grandma, look what I made for you!” And with the variety on this page there is sure to be something to please any crowd.
An added bonus, in our home, is that all of these recipes contain the extra calories that are good for Nathan to keep up a healthy weight and manage his CF.
Anyone who lives, or desires to live a little more organically can appreciate adding these simple recipes into their daily repertoire.
***Note that either of these Heavy Cream Recipes can be made in larger batches by using a hand mixer or ‘bullet’ blender, but these are written in such a way that even small children can participate by doing the shaking.***

Easy Homemade Whipped Cream
First, the easiest:
Whipped Cream
By:semiserious chefs
Serves:varies
All You Need:
- A half pint jelly jar with a lid
- Tupperware or other vessel can also be used
- 1/2 pint heavy whipping cream
- sugar to taste*
- vanilla extract
- or other preferred flavor such as chocolate, buttered rum, banana…
*I got the idea for keeping vanilla sugar on hand from Alton Brown. It’s really easy: just place a vanilla bean upright in a pint of sugar. He says to leave it for 6 months, but you can use it whenever you feel it has enough flavor. It’s perfect for whipped cream and especially great for creme brulee.
Directions:
- Add heavy whipping cream to your jar or shaking container, making sure to leave about 1/4 empty at the top. Add a couple table spoons of sugar, more or less to taste, and just a splash of extract. You can easily taste this mixture ‘raw’ and adjust it as needed.
- Shake! That’s right, just shake, shake, shake, shake, shake! It usually takes about 5 minutes. That’s it. You’ll hear it change sound in your jar and you can open and check the consistency as needed. Stop when you get to ‘whipped’ or you will end up with butter.
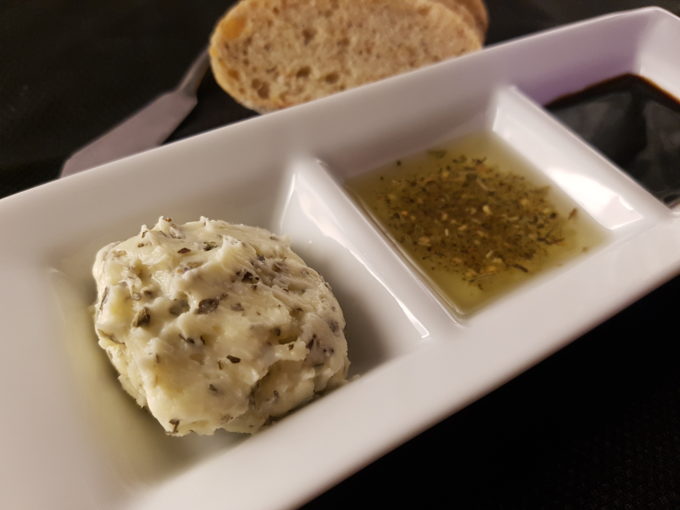
Sweet basil and garlic butter served along side herbed olive oil and balsamic vinegar. Simply provide sliced baguette or a multigrain mini loaf, for spreading or dipping, and you have a quick start to a meal or a great side dish.
And speaking of butter, this recipe is great if you are wanting to make a certain flavor of butter, such as an herbed butter or honey butter.
Homemade Butter
By:semiserious chefs
Serves:varies
Ingredients and Materials:
- 4 oz jelly jar with lid
- 3 ounces of heavy whipping cream
- salt to taste, and fresh or dried herbs of choice
- or 1 T honey and cinnamon and vanilla to taste for honey butter
Directions:
- Add the heavy cream to your jar.
- Season with salt and preferred herbs to your liking, or use the above reference to make honey butter.
- Shake! Shake a lot! It will take about 10 minutes but it’s worth it. Note: I’ve had instances, since I was working with children, that perhaps we didn’t shake consistently enough and there remained some milk that separated from our butter when it had firmed. I simply poured off that liquid and had a very pleasantly spreadable butter remaining.
Now for the Cheeses!

Spreadable Herbed Cheese
Traditional cheese making requires rennet and long process of inoculating, cutting and setting curds, straining, and aging. This recipe is pretty much heat and strain. Other than the time it takes to heat the milk, which depends on how big your batch is, it can be done relatively quickly.
I love that you can literally see the curds form in seconds after the lemon juice or vinegar has been added. It’s the perfect kind of magic for cooking with kids.
Quick Soft Cheese from Whole Milk
By:semiserious chefs
Makes:about 2 cups
Ingredients:
- 1/2 gallon whole milk, fresh (shelf stable boxed milk will not work)
- 1/4 cup lemon juice (or vinegar)
- a pinch of salt (or to taste)
- additional herbs or seasonings as desired
Directions:
- Bring your milk to 200 degrees in a pot on the stove top. Do not let it come to a boil. Use low to medium-low heat and stir regularly to prevent it from burning to the bottom of the pan.
- Remove from heat and stir in the lemon juice or vinegar. Let stand for 10 minutes.
- Using a colander, strain the curds through a couple layers of cheese cloth, retaining the run off whey for making ricotta if desired. <– I suggest it. You will get double (or more) the goods out of the same half gallon of milk.
- Form your cheese:
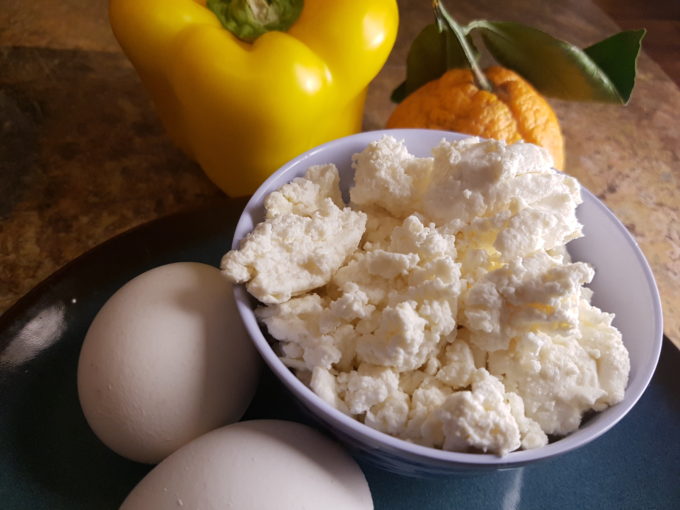
- For a quick spreadable cheese simply squeeze out as much of the liquid as possible, add salt to taste, and mix in any herbs you like for additional flavor. You can serve this fresh and warm or refrigerate for later.
- For a firmer cheese, similar to the paneer found in Indian dishes, add a pinch of salt, form the curds into a rectangle, and wrap tightly in cheese cloth. Place this on a plate, then use another plate and some weight, such as a 28 oz canned good, to press until an amount of firmness is achieved; 15-60 minutes as desired. You’ll end up with a consistency similar to tofu. This cheese is great because it can be fried without melting.
Fresh Ricotta Cheese
Ricotta gets it’s name from the Italian for ‘recooked,’ because that is what it is; recooked whey. This soft and mild cheese, similar to cottage cheese, can be used in a lot of dishes and bakes well. It is most notably known for it’s use in lasagna.
You can make it using the whey from traditional cheese requiring rennet or from the above recipe that only requires an acid like lemon juice or vinegar.
Homemade Ricotta
By:semiserious chefs
Makes:1-2 cups
Ingredients:
- retained whey from turning 1/2 gallon of milk into cheese (see recipe above this one)
Directions:
- Retain the whey from making basic or soft cheese from a 1/2 gallon of milk. Leave it to acidify over-night, covered, in a non reactive container. (Plastic or Glass)
- The next day, 12-24 hours later, heat the whey on the stove, over medium heat, until just before a boil. Do not allow to boil over. Stir consistently to keep the milk from sticking to the bottom of the pot.
- Remove from the heat and let rest and cool until reaching a comfortable temperature to touch. This can be as long as several hours, as needed.
- Without stirring up the curd, gently scoop out the curds with a mesh strainer and set aside to drain. Using a strainer and cheese cloth, filter the remaining whey. Add the original collection of curds to this strainer and let them all continue to drain for 1-2 hours.
- Gather the corners of the cloth and suspend it, like a bag, over the sink for several more hours, or in the fridge overnight.
- The ricotta can then be removed from the cloth and stored covered in the fridge or frozen for later use.
As you can see I don’t have a particularly sophisticated method for making this cheese process happen. I used a strainer and a plastic gallon pitcher, and here is the ricotta hanging in the sink with the use of a bandana.


The finished ricotta was wonderful on this ‘vegged-up’ version of spaghetti; served in a roasted bell pepper.

Post a comment